
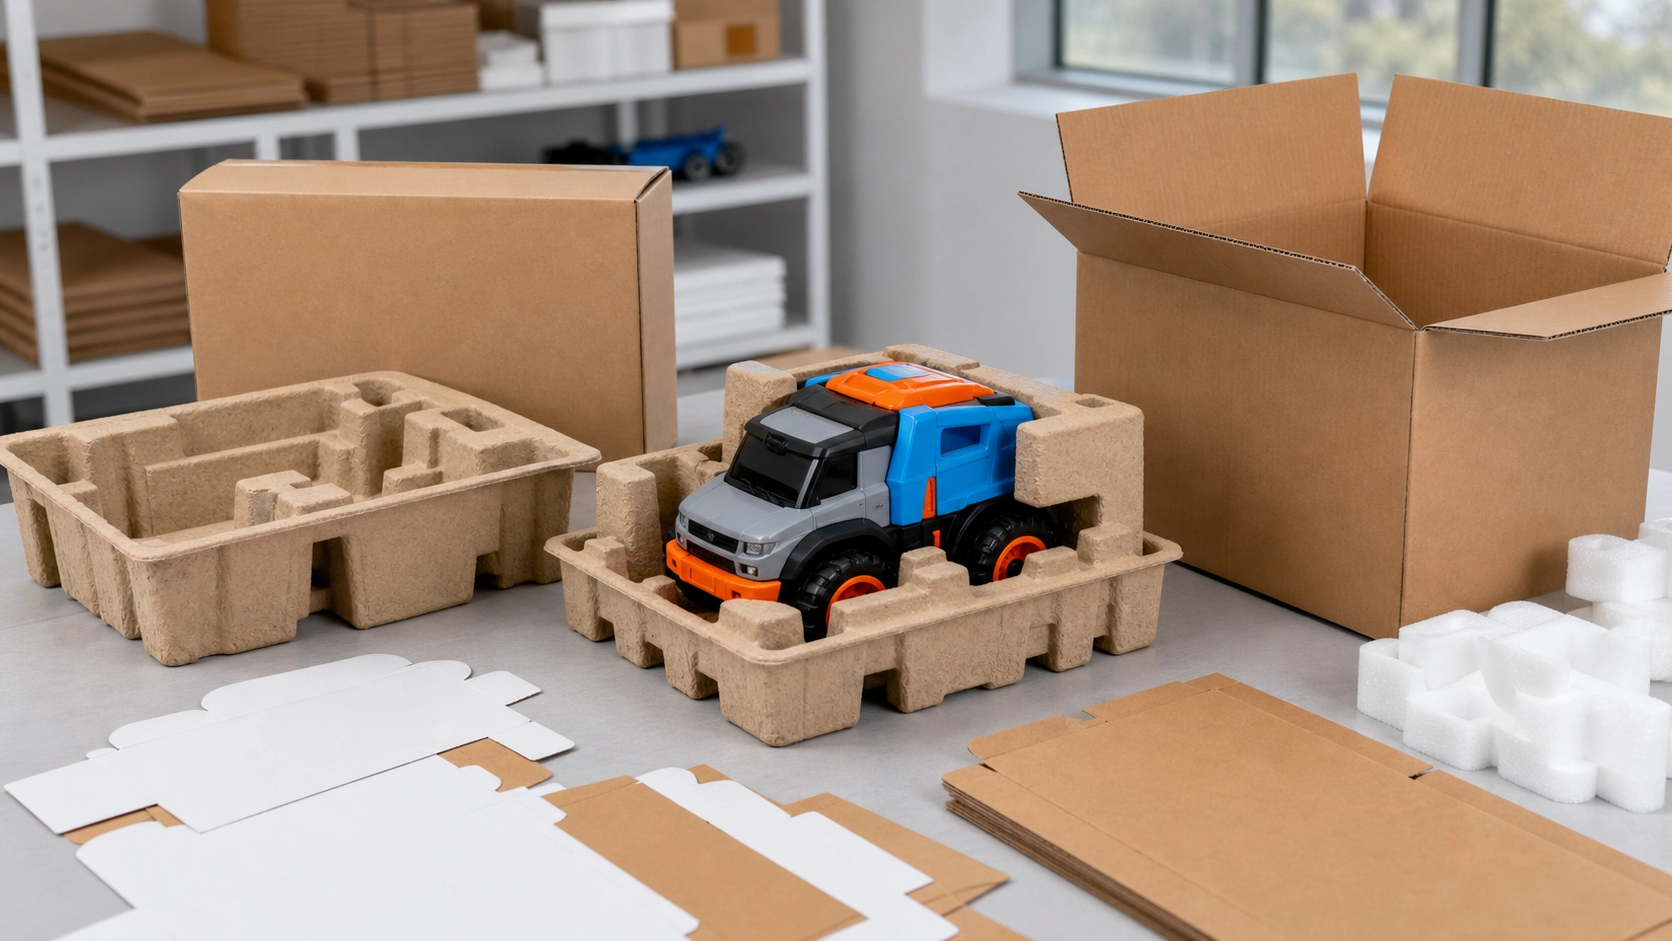
Packaging for an export toy project has several jobs at once. It must protect the product, keep accessories organized, support an efficient packing process, carry the required information, and move through the intended distribution route. A visually attractive box can still fail if the product scuffs, shifts, compresses, or arrives with missing parts. Packaging engineering therefore begins with the product and logistics profile before artwork is finalized.
Define the complete distribution profile
The packaging team needs to understand what happens between final assembly and the end customer. Identify the transport modes, expected handling points, warehouse conditions, pallet or parcel distribution, retail or direct-delivery route, and any known dimensional restrictions. Avoid copying a pack from an unrelated product because two toys of similar size can have different weight distribution, fragile features, finishes, and accessory risks.
Clarify the sales markets and channel requirements early. Labeling, language, product identification, age-related information, importer details, warnings, recycling marks, and other statements may vary by destination and product. The manufacturer can prepare space and production methods for approved content, but the responsible project parties should confirm the actual requirements before print approval.
Separate primary, retail, and transit functions
It helps to review the package as a system. A bag, wrap, tray, insert, or tie may contact and restrain the toy. A printed carton or display structure may present the product and carry information. A shipping carton, divider, corner support, or pallet pattern may protect multiple units in transit. Each layer should have a defined role so that protection is not based on an accidental combination of materials.
Map product-specific hazards
- Painted or polished surfaces may rub against inserts, ties, or adjacent components.
- Thin projections and movable parts may experience bending or impact during handling.
- Loose accessories may migrate, scratch the main product, or appear missing.
- Heavy parts may break through a weak insert or deform a retail carton.
- Transparent windows may scuff, crease, or separate if loads are not distributed.
- Moisture and temperature changes may affect paperboard, adhesives, films, or printed finishes.
Turn these hazards into design requirements. For example, a sensitive finish may need a non-abrasive contact surface and controlled clearance. A top-heavy figure may need support close to its center of mass. An accessory set may need cavities or a count-friendly arrangement that makes omissions visible during packing.
Choose structures from evidence, not appearance alone
Packaging materials and structures should be evaluated against product weight, geometry, surface finish, presentation needs, packing labor, and distribution risk. Folded board, corrugated structures, molded pulp, thermoformed trays, films, sleeves, and simple paper restraints each involve different tooling, protection, display, and recycling considerations. No option is automatically superior for every project.
Minimizing packaging material can be useful, but protection remains part of responsible design. A structure that is too light may increase damage, replacements, and waste. Conversely, layers that do not perform a clear function add volume and cost. Prototype the simplest system that meets the documented needs, then refine it using handling and transport evidence.
Engineer an efficient and verifiable pack-out
A good package should be repeatable on the assembly line. Define the order in which the toy, accessories, documents, restraints, and seals are added. The operator should be able to identify orientation and confirm completeness without relying on memory. If two accessories look similar, their locations or part references should make the difference clear.
Use a pack-out specification with images or diagrams, approved materials, quantities, folding sequence, fastening points, sealing method, and inspection criteria. Include controls for loose parts and any item that could be trapped under a flap or hidden from a final check. Trial the process with production-intent components because a concept assembled slowly by a designer may not remain practical at line speed.
Review packing quality at defined points
- Verify product orientation, accessory count, and document inclusion.
- Check restraint positions for pressure marks, deformation, or paint contact.
- Confirm seals, closures, date or batch codes, and variable labels where required.
- Inspect the retail package for scratches, crushed corners, printing defects, and contamination.
- Check shipping-carton quantity, orientation, gross weight data, and closure method.
Coordinate artwork and labeling as controlled data
Artwork should not be treated as decoration detached from engineering. Dielines, glue areas, folds, windows, seals, codes, and required information compete for limited space. Establish an approval process for text, translations, barcodes or identifiers, warnings, color references, and version numbers. Proofread rendered artwork as well as source text because line breaks and small type can change during layout.
Use a clear version name and release date for each approved file. The print supplier and packing line should receive the same controlled version. If the product name, age grading, accessory list, importer information, or destination changes, review the affected artwork rather than assuming the existing package remains suitable.
Prototype and test the complete packed product
Early white samples can confirm dimensions and assembly. Printed prototypes can reveal scuffing, glare, color interactions, weak folds, and readability issues. Production-intent packs are needed to evaluate actual board, ink, coating, tray, adhesive, tie, film, and sealing behavior. Testing should reflect the agreed distribution profile and customer requirements rather than using one generic procedure for every project.
After any evaluation, inspect both the outer packaging and the toy. Record movement, abrasion, deformation, broken restraints, open seals, accessory migration, and cosmetic damage. A package can look acceptable externally while the product inside has rubbed against a contact point. Use findings to adjust clearance, restraint, material, carton fit, or pack orientation, then document the approved configuration.
Control shipping efficiency without hiding tradeoffs
Retail-pack dimensions affect master-carton count, pallet use, parcel charges, storage, and shelf presentation. Review these relationships while the structure is still flexible. Reducing empty space can improve logistics, but forcing a delicate product into a tight pack can transfer loads to vulnerable features. Compare options using the same assumptions and identify whether a saving comes from material, volume, labor, tooling, or a combination.
Conclusion
Export toy packaging performs best when protection, presentation, packing, labeling, and logistics are engineered as one controlled system. Start with the real distribution route, prototype with production-intent materials, and approve both the pack and the pack-out process. For an upcoming OEM toy project, discuss product hazards, channel needs, destination data, artwork responsibilities, and validation expectations before committing to final packaging tooling or print.