
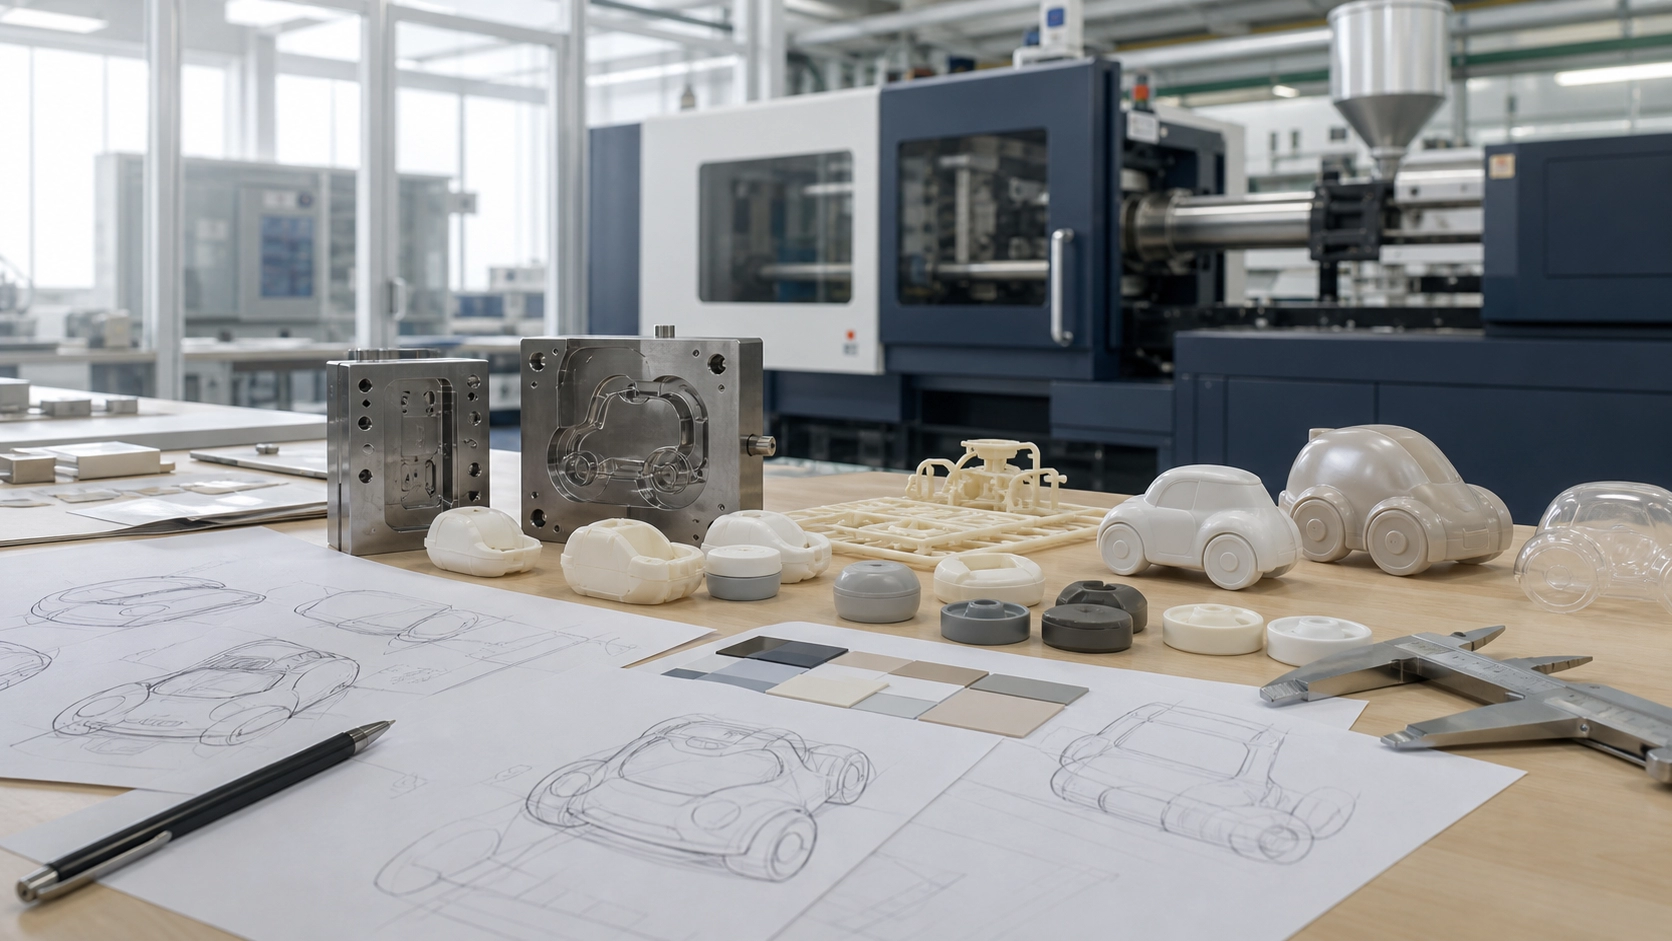
OEM plastic toy manufacturing turns an original product idea into repeatable physical parts made to a buyer's specification. The process is more than injection molding. It connects design intent, material behavior, tooling, decoration, assembly, quality planning, packaging, and logistics. A clear workflow helps project teams find costly uncertainties while changes are still manageable. Although every toy is different, most well-organized programs move through a similar sequence: requirements, engineering review, prototypes, tooling, samples, controlled production, inspection, and shipment preparation.
Start with a usable product brief
A useful brief explains what the product must do, not only what it should look like. It normally includes intended dimensions, target users, play or display purpose, articulation, accessories, color references, finish, packaging concept, expected order range, and destination markets. Original three-dimensional files, sketches, reference views, and a list of critical features give engineers a stronger starting point. If a dimension, color, or mechanism is essential, it should be identified early rather than left for interpretation.
The intended market matters because product requirements and testing expectations vary by region, age grading, product type, and selling channel. The project owner should identify applicable requirements with qualified compliance specialists and laboratories. A manufacturer can prepare materials and samples for evaluation, but test planning should be based on the actual product and destination instead of assumptions.
Translate the concept into manufacturable geometry
The engineering review connects the appearance model to a realistic production method. Designers examine part separation, wall thickness, draft, undercuts, shutoffs, joints, fasteners, gate locations, ejection, visible surfaces, and assembly access. A sculpt that looks complete on screen may need to become several molded parts so that it can release from a tool, receive different colors, or assemble without damaging delicate details.
This is also the right time to identify critical-to-quality features. Examples include the fit of a removable accessory, the rotation of a joint, the alignment of printed decoration, or the gap around an assembled panel. Agreeing on how these features will be measured makes later sample reviews more objective.
Select materials and processes around the design
Material selection should follow functional needs. Rigid materials may suit structural shells, vehicles, model parts, or components that need dimensional stability. Softer compounds may be useful for flexible figures or parts that need a different hand feel. Clear parts, decorative plating, soft-touch finishes, or mixed-material assemblies introduce additional tooling and process considerations. Color, surface texture, durability expectations, part thickness, and assembly method all influence the choice.
Decoration should be planned alongside molding. Spray masking, pad printing, heat transfer, decals, in-mold color, and hand-applied details each have different strengths and limitations. The artwork needs suitable registration areas, tolerances, and surface geometry. A decoration placed across a deep texture or sharp edge may not reproduce as consistently as it appears in a flat rendering.
Use prototypes to answer specific questions
Prototypes are most valuable when each round has a defined purpose. An appearance model can confirm proportion and surface detail. A functional prototype can test joints, balance, access, or assembly logic. A color sample can evaluate the relationship among molded colors, paint, and printed details. Prototype materials and processes may differ from production, so a prototype should not be treated automatically as proof of final performance.
Review comments work best when they are consolidated, numbered, and tied to images or dimensions. Separate essential corrections from preferences, and record each approved revision. This reduces conflicting feedback and helps preserve an audit trail as the design develops.
Plan tooling before cutting steel
Once geometry is approved for tooling, the team confirms the part layout and tool strategy. Decisions may include cavity arrangement, parting lines, gates, ejector locations, inserts, sliders, texture, cooling, and replaceable details. Tool decisions affect appearance, cycle stability, maintenance, and the ability to revise a feature later. A formal tooling review is therefore a useful checkpoint before irreversible work begins.
The tooling package should use controlled file versions. If a late change is necessary, the project team should document whether it affects only a replaceable insert or requires wider tool modification. Clear ownership of approval prevents outdated files from reaching production.
Evaluate samples as a complete system
Initial molded samples reveal how the design behaves in the intended process. Reviewers should look beyond overall appearance and check fill, sinks, weld lines, flash, warpage, texture, gates, ejection marks, and dimensional fit. Later samples can add final materials, colors, decoration, assembly, accessories, and packaging. The sequence should reflect the risks of the particular product.
A signed reference sample, approved specifications, color standards, artwork files, and inspection criteria form the production baseline. Approval should be explicit: a casual message that a sample looks good may not define which version, finish, or exception was accepted. Keeping a physical reference and a dated digital record helps both parties compare production with the same target.
Control production, assembly, and inspection
Production control begins before molding. Material identification, color preparation, machine setup, work instructions, decoration fixtures, assembly methods, and inspection points should align with the approved baseline. Early output can be checked before the full run progresses. This creates an opportunity to correct setup drift without affecting a larger quantity.
Inspection plans should focus on meaningful risks rather than appearance alone. Checks may cover dimensions, function, assembly fit, decoration position, color, surface defects, part count, packaging configuration, and traceable batch information where required. The appropriate sampling method and acceptance criteria depend on the product, contract, and quality plan. Any laboratory evaluation should use representative samples and the requirements defined for the destination market.
Prepare packaging and delivery information early
Packaging can influence the product design, so it should not be postponed until production is complete. Tray depth, accessory retention, protective films, bag size, carton orientation, labels, manuals, and barcode placement may change how parts are arranged or protected. Transport testing and pack-out review can identify movement, abrasion, or deformation risks before shipment.
A practical handover includes confirmed quantities, packing details, carton markings, shipping documents, destination instructions, and an agreed method for handling nonconforming units. Maintaining one approved set of specifications from design through delivery reduces ambiguity across engineering, purchasing, manufacturing, and logistics.
Conclusion
Successful OEM toy production depends on disciplined decisions at every stage. A complete brief, early manufacturability review, purposeful prototypes, controlled approvals, and risk-based inspection make the path from concept to production easier to manage. If you are planning an original OEM plastic toy project, discuss the design, intended function, quantities, finish, packaging, and destination requirements with a qualified manufacturing team before committing to tooling.