Buyers rarely complain that a custom figure project was difficult. They complain that they did not know what was happening. A five-month program with a single update at the end feels risky even when it delivers. The remedy is not more meetings — it is a structured workflow with named gates, documented sign-offs and progress reporting at defined intervals. This article walks through Longman's ten-stage OEM/ODM workflow from the buyer's side: what you are asked to approve, when, and what each gate protects you from.
The Difference Between a Schedule and a Controlled Workflow
A schedule lists dates. A controlled workflow lists decisions. The distinction matters because custom figure manufacturing is not a linear production run — it is a sequence of approvals, and every approval carries a cost-of-change curve. Correcting a misread brief at the concept stage costs a revision. Correcting it after tooling costs a mold. Correcting it after mass production costs a recall.
Longman's workflow is therefore built around ten stages with explicit handoffs. Six of the ten require a customer decision. That ratio is the point: the buyer is not a spectator waiting for a shipping date.

Stages 1–2: Concept Input and Digital Development
Stage 1 — Project Initiation. The customer provides 2D concept sketches, product dimensions and development requirements. Longman conducts an initial review and formally launches the project once the basic direction is confirmed. Your deliverable: a documented brief with agreed direction — not a verbal understanding.
Stage 2 — Digital Development. Designers build detailed 3D exterior models in FREEFORM, evaluated against demolding and injection requirements and presented in six views. Your decision: approve the 3D appearance. Everything downstream inherits this geometry, so this is the highest-leverage approval in the program.
Stages 3–4: Physical Validation and Colour Lock
Stage 3 — Physical Validation. A high-precision 3D printed prototype lets the customer verify appearance, structure and dimensions on a physical object rather than a screen. Your decision: confirm or request revisions with specific markups.
Stage 4 — Appearance Confirmation. Revisions are completed, then a new sample is hand-painted and colour-matched before final customer confirmation and signed approval. Your decision: signed colour sign-off. This sample becomes the reference for all later colour questions.
Stages 3 and 4 run in sequence for a reason. Structural verification happens on an unpainted part, so a form or dimension issue is never confused with a colour issue. Colour is then locked on a part that has already been structurally accepted.

Stages 5–7: Tooling Engineering Under Transparent Reporting
Stage 5 — Tooling Engineering. With the final sample signed, the approved structure is translated into a production-ready mold design. Your deliverable: the tooling solution that will define the part for its entire production life.
Stage 6 — Schedule Control. A detailed mold manufacturing schedule is established alongside the design, keeping milestones, responsibilities and target dates explicit through the tooling stage. Your deliverable: a dated plan you can plan your own launch around.
Stage 7 — Transparent Execution. During mold manufacturing, progress is reported to the customer in a timely manner, with regular updates that keep the tooling process traceable and controllable. Your benefit: you learn about a delay when it happens, not when the delivery date passes.
Stage 7 is the stage buyers most often ask for and least often receive. "Timely reporting" is not a courtesy — on a multi-cavity tool with hardening and fitting steps, an unreported two-week slip in the tool shop compresses the trial and approval window, which is exactly where quality problems get missed.
Stages 8–10: Validation, Final Approval and Controlled Production
Stage 8 — Tooling Validation. Mold fitting and trial molding are carried out. Injection issues are identified and corrected, and injection-molded white samples are submitted for customer approval. Your decision: accept the white sample, which confirms the tool produces a correct part before any colour is applied.
Stage 9 — Pre-Production Approval. Painting fixtures and pad-printing plates are prepared, and ten sample sets are produced for final bulk colour confirmation, followed by the formal mass-production schedule. Your decision: approve the ten-set submission. This is the last gate before volume commits material and capacity.
Stage 10 — Controlled Manufacturing. Formal mass production begins after final approval. Production photos and progress updates are shared regularly, and any issue is communicated and corrected promptly to protect product quality and delivery performance. Your benefit: volume is executed against an approved part, an approved colour and a locked tool, with the process still observable.
What This Structure Protects
Three specific risks are addressed by the gate design:
- Tooling risk. Demolding and injection review plus a white-sample gate mean a mold is validated on structure before colour work begins. A structural problem found at stage 8 is a tool adjustment; the same problem found after stage 9 is a rebuild.
- Colour risk. A hand-painted reference at stage 4 and ten sets at stage 9 give two documented checkpoints with a physical master. This is the control that survives a change of production batch or a reorder.
- Visibility risk. Named gates, dated schedules and reported progress mean the buyer can answer "where is my project" without asking. Information asymmetry is a bigger source of disputes than technical failure.
Scale Behind the Workflow
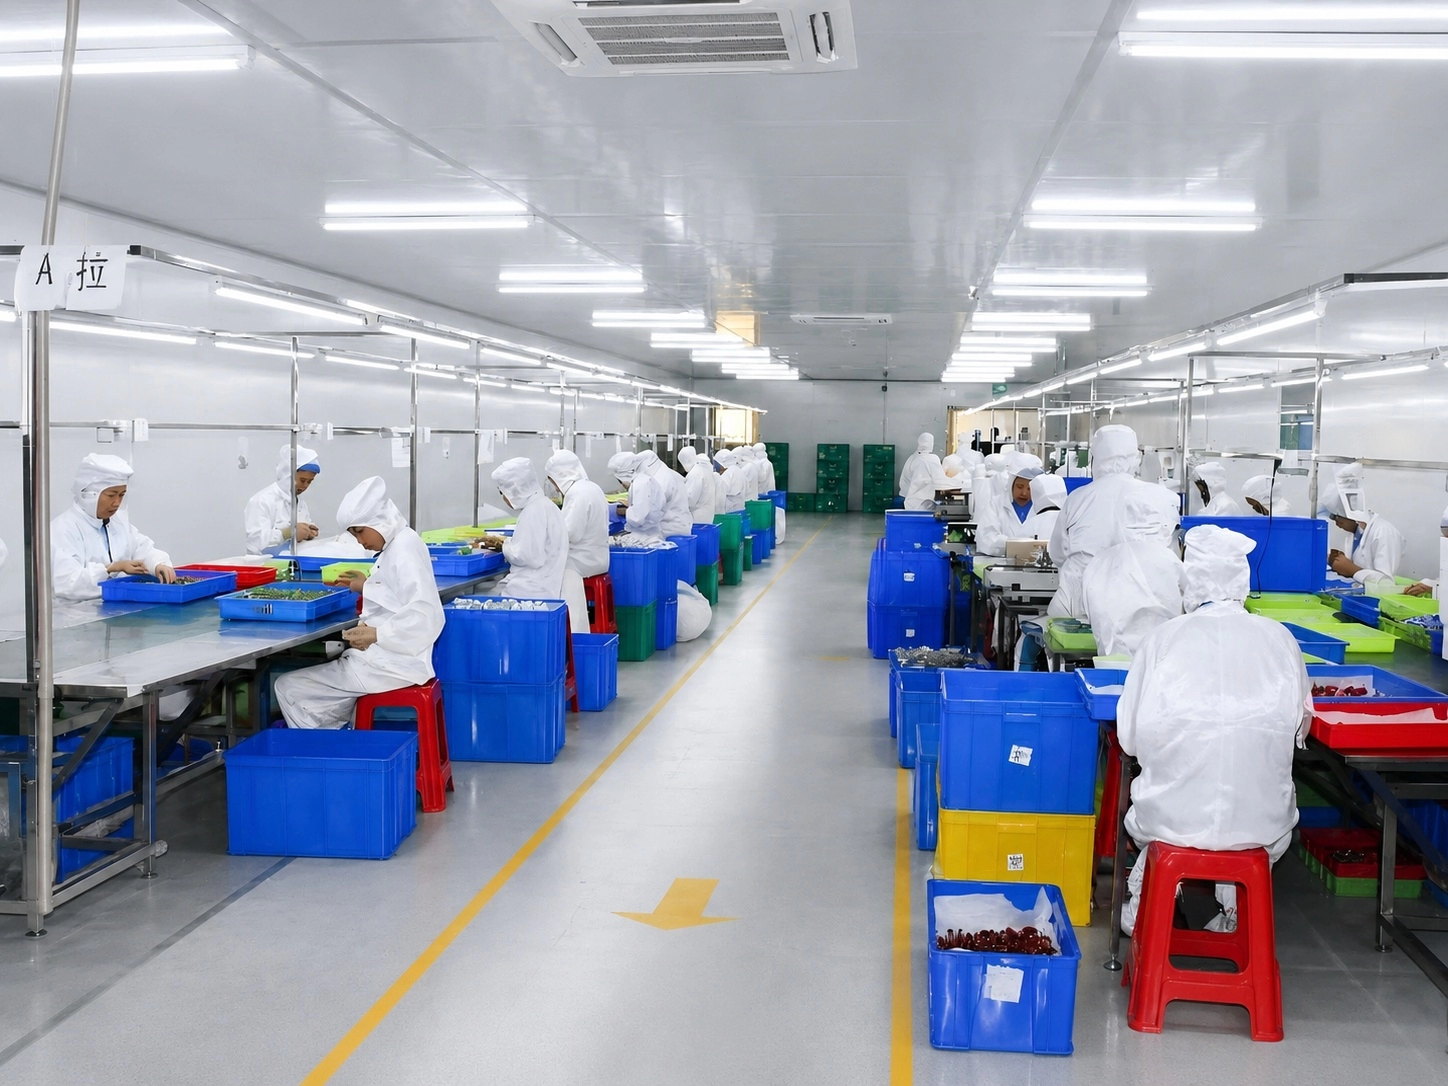
The workflow is backed by capacity that makes the gates meaningful rather than theoretical: a 20,000 m² facility, 50M+ unit annual capacity, 15 million units delivered annually at a 98% on-time rate, and more than 30 global partner brands — including licensed work for major names in the collectible market.
Since 2006, Longman has run figure, statue, blind-box and model-kit programs through this same ten-stage structure, which is why the process — rather than any single machine — is the company's core asset. Capability pages describe equipment; delivery performance describes a workflow.
How to Evaluate Any Contract Manufacturer
The workflow above is not a trade secret, and buyers should expect comparable rigour from any serious partner. When evaluating a supplier, ask for the answers to these five questions:
- Which stages require my written approval, and what is the cost of change after each?
- When is the demolding and injection review performed — before or after my design approval?
- How many sets are submitted for final bulk colour approval?
- What is the reporting cadence during tooling, and who sends it?
- What happens if a defect is found during mass production — what is the containment and correction path?
Vague answers at any of these points are the real risk signal, more than price or lead time. A supplier who can name the gates has run them many times.
Send your concept artwork, reference dimensions, target quantities and launch window to the Longman team for a project review and a stage-by-stage development plan.