
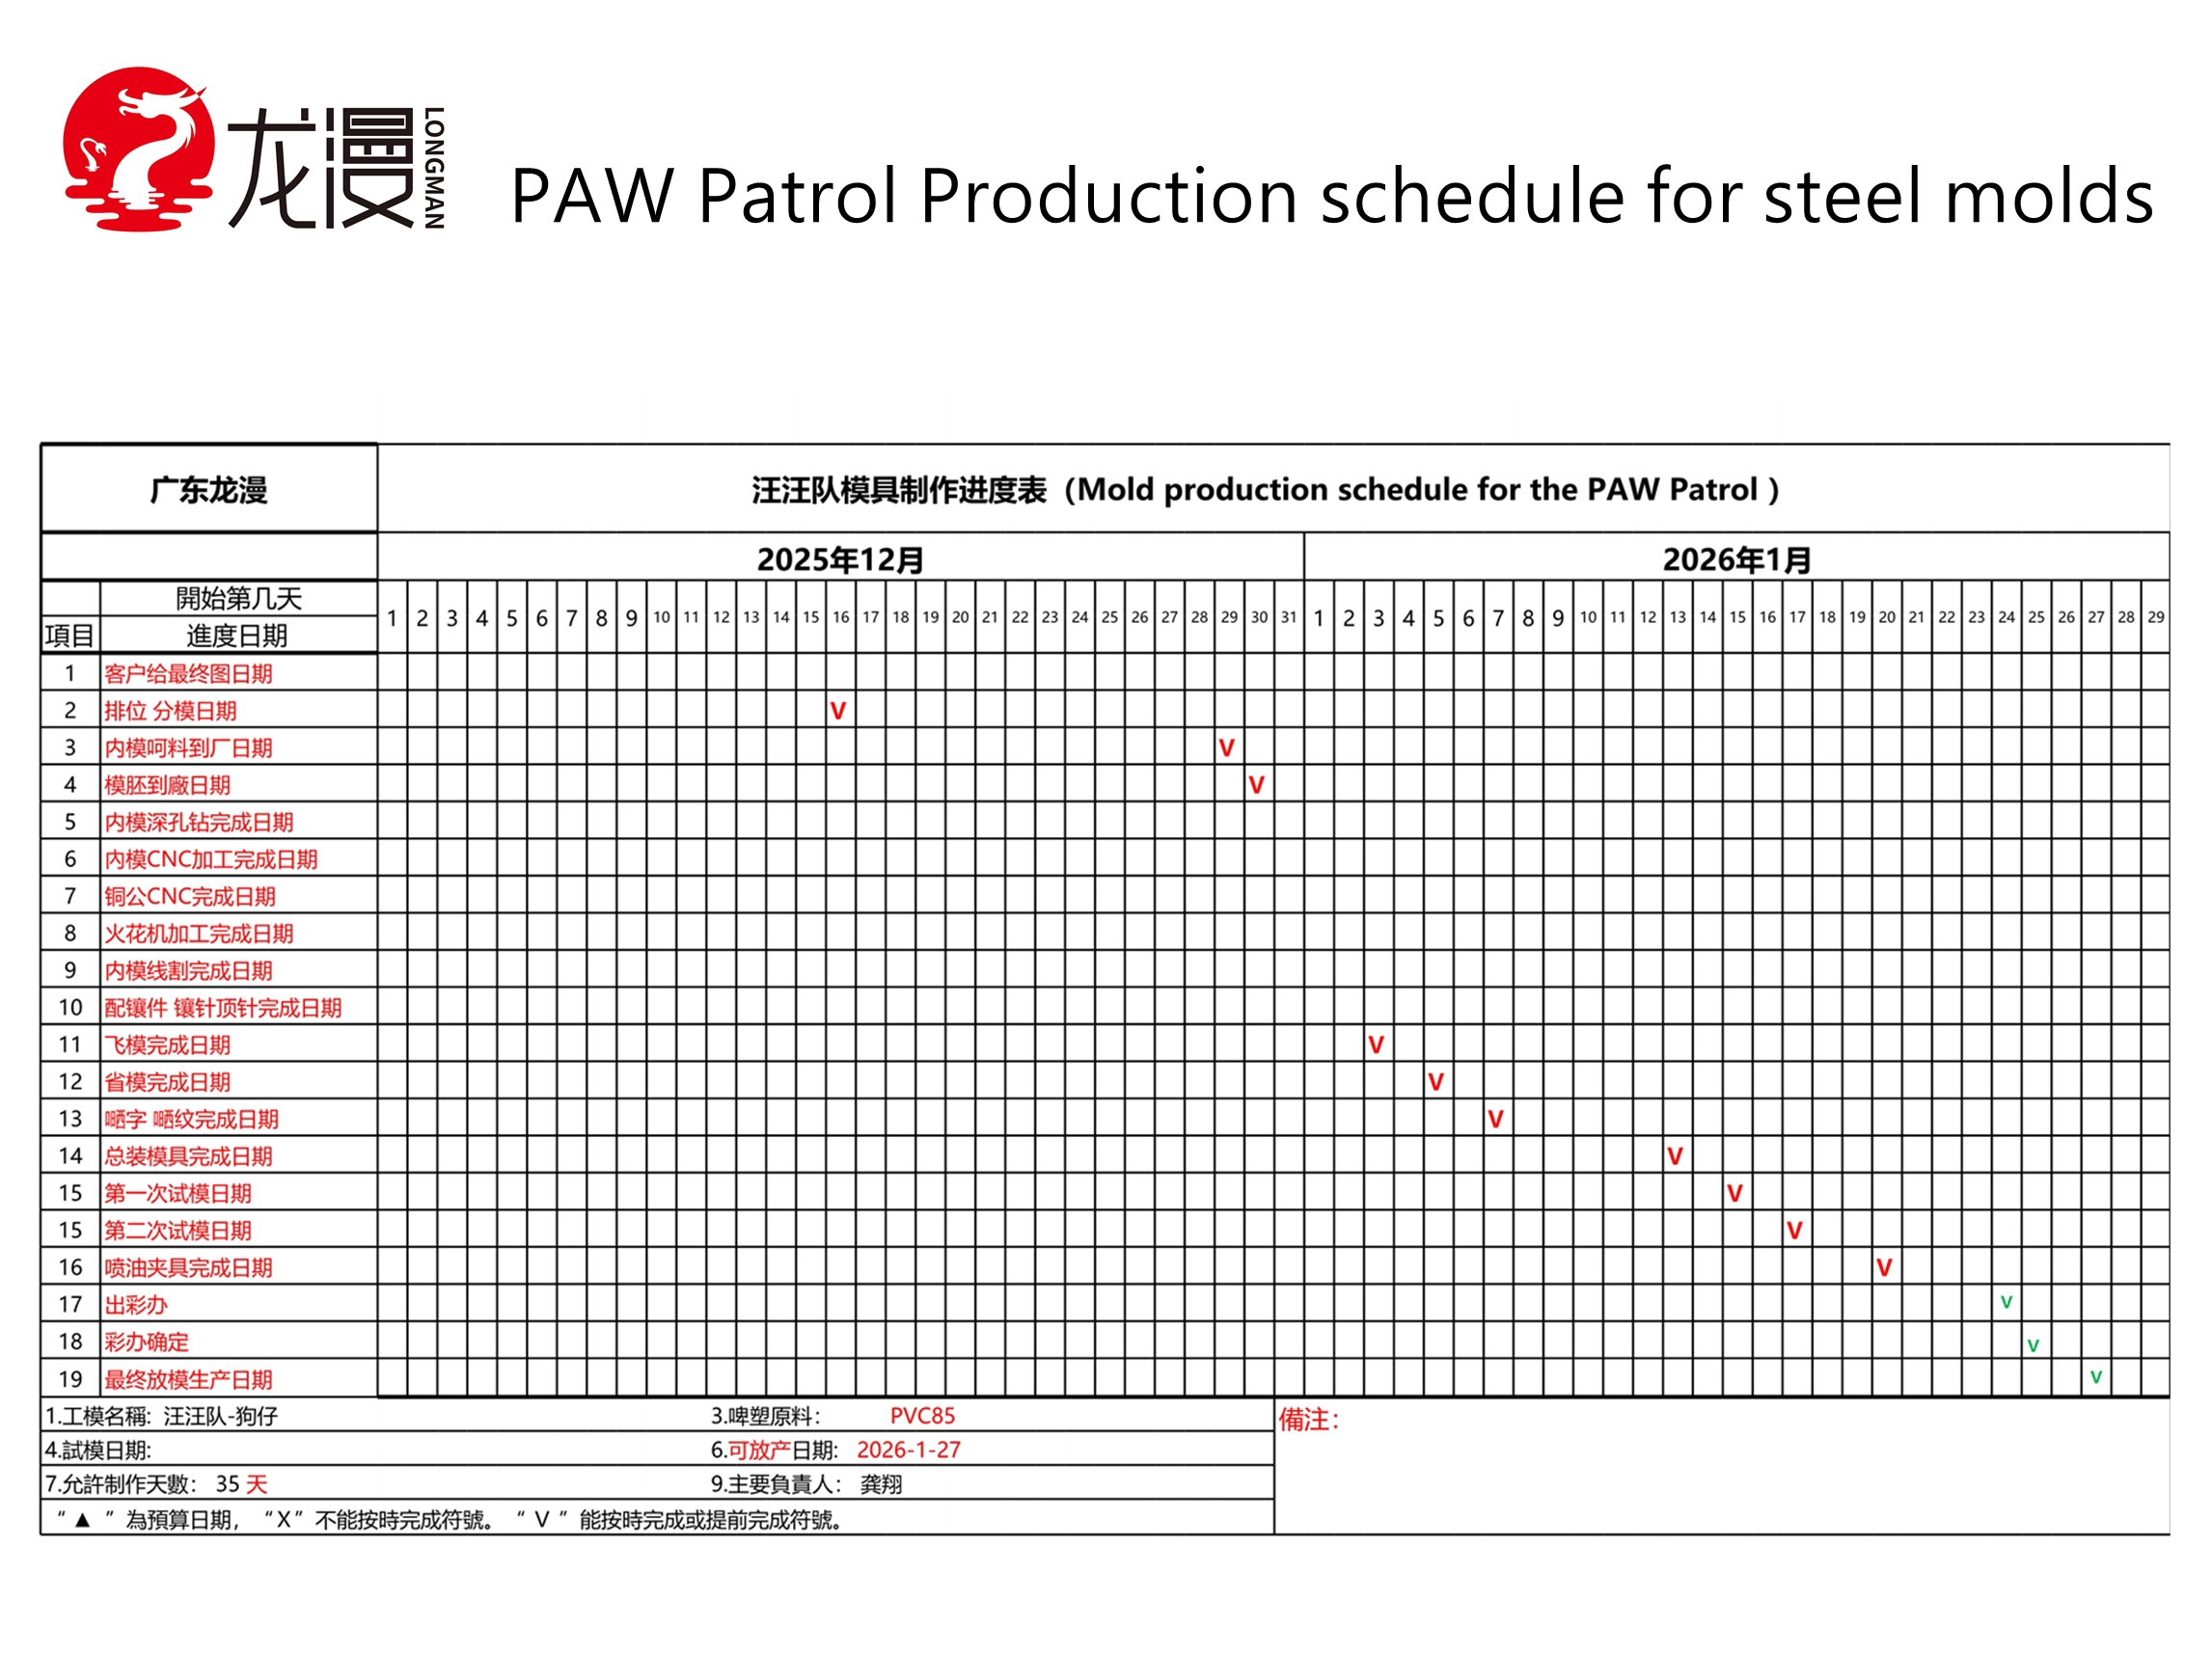
The short answer: a custom toy order runs through eight stages — brief freeze, sculpt and six-view approval, structural/DFM review, prototyping, tooling, tool trial and T1 samples, pre-production sign-off, then mass production and inspection. Sampling typically takes on the order of a week depending on complexity, tooling several further weeks, and each stage has an approval gate where the clock stops until you sign. Almost all schedule overruns are caused by a late approval, not a slow factory — so the most effective schedule protection is committing to your own review turnaround times.
Custom toy programmes feel slow for a reason that is rarely the factory: the schedule is a chain of approval gates, and each gate waits on a decision. A buyer who reviews a sculpt pack in two days and a supplier who takes two weeks to produce it will finish the programme far sooner than the reverse, even if both nominally quote the same total lead time.
This guide sets out the full sequence, what happens at each stage, what you receive, and where the realistic time goes. It is written so you can use it as a planning template — including the review obligations on your own side, which are the ones most often left out of a timeline.
In this article
- How a custom toy schedule is actually shaped
- The eight stages at a glance
- Stage 1 — Brief freeze
- Stage 2 — Sculpt and six-view approval
- Stage 3 — Structural and DFM review
- Stage 4 — Prototyping
- Stage 5 — Tooling
- Stage 6 — Tool trial and T1 samples
- Stage 7 — Pre-production sign-off
- Stage 8 — Mass production and inspection
- The five critical path items
- Your own clock: the review obligations that set the pace
- Where schedules actually slip
- Schedule protection checklist
- FAQ
How a custom toy schedule is actually shaped
Three structural facts determine the shape of any toy manufacturing schedule, and understanding them prevents most planning errors.
- Front-loaded risk. Sculpting, structural review and tooling account for a large share of the programme's elapsed time and nearly all of its irreversible cost. Compressing these stages buys schedule at high risk.
- Sequential dependencies. You cannot cut a tool before the sculpt and structure are approved, and you cannot run T1 samples before the tool exists. Stages chain rather than overlap, so a delay propagates one-for-one.
- Decision-gated, not effort-gated. The factory can work faster; it cannot approve your sculpt for you. Elapsed time is governed by the slower of manufacturing effort and buyer decision latency.
The practical consequence: when a programme is behind, the instinct is to press the factory for speed. The higher-yield action is usually to audit your own approval turnaround and consolidate review rounds — for example by reviewing the sculpt and the structural report in one cycle rather than two.
The eight stages at a glance
| # | Stage | What happens | What you receive | Who moves next |
|---|---|---|---|---|
| 1 | Brief freeze | Product definition, size, material direction, market, packaging format and quantity are fixed | Written brief restatement with open technical questions | Buyer confirms |
| 2 | Sculpt & six-view approval | The concept is developed into a 3D sculpt | Six-view approval pack for markup | Buyer approves |
| 3 | Structural / DFM review | Parting lines, wall thickness, undercuts and assembly logic are resolved | Annotated structural report with risks flagged | Buyer approves |
| 4 | Prototyping | A physical representation of the form and fit is produced | Physical prototype or white sample | Buyer approves form and fit |
| 5 | Tooling | Production tooling is designed, cut and trialled | Tool register entry, machining progress | Supplier proceeds to trial |
| 6 | Tool trial & T1 samples | First parts come off the production tool | T1 samples, dimensional report, deviation list | Buyer reviews deviations |
| 7 | Pre-production sign-off | Parts are produced in production conditions, decorated and assembled | PP sample and colour standard for sign-off | Buyer signs the production standard |
| 8 | Mass production & inspection | Volume output, staged inspection, packing and pre-shipment check | In-process reports, AQL report, pre-shipment report | Shipment |
Stage 1 — Brief freeze
The brief is the document that ends most later arguments. A programme that begins with an incomplete brief will revisit specification decisions at the worst possible time — usually during tooling, when the cost of changing them is highest.
What must be fixed at this stage
- Product definition and scale. Height, footprint, and the reference point for measurement.
- Part list and articulation intent. Which parts exist and which joints move.
- Material family and key properties. Not just "PVC" but finish, flexibility, and any phthalate or chemical constraints.
- Decoration intent. Colour count, which areas are painted versus moulded in colour, and the finish type.
- Target market and compliance set. This determines the material grades available and the test set required.
- Packaging format. Format, artwork responsibility, labelling requirements and language variants.
- Quantity bands. The quantities that will be quoted and the expected programme volume.
- IP status. Original design or licensed property, and the confidentiality controls required.
The restatement test: a competent manufacturer will reply to your brief with a written restatement of what they understood, plus a list of open technical questions. Review that restatement carefully — it is the single cheapest opportunity in the whole programme to catch a misunderstanding.
Stage 2 — Sculpt and six-view approval
This is where the product takes shape, and where the most valuable review happens. The discipline that separates a well-run studio from an improvised one is the six-view approval pack: front, back, left, right, top and bottom views presented together for sign-off before tooling is committed to.
| Review item | What to check | Why it matters downstream |
|---|---|---|
| Proportion and silhouette | Against your reference, from multiple angles rather than one hero view | Silhouette errors are far cheaper to fix in the sculpt than in the tool |
| Feature accuracy | Face, costume detail, accessory fidelity | The detail that sells the figure is the detail most easily lost in tooling |
| Scale confirmation | Absolute height and footprint, not just relative proportion | Determines tool size, packaging dimensions and freight |
| Surface intent | Which surfaces are smooth, textured or matte | Drives steel finish and polishing effort at tooling |
| Parting line proposal | Where the mould will separate | Parting lines are visible on the finished figure — approve them knowingly |
| Undercut resolution | How features that cannot release from a simple tool will be handled | Undercuts resolved late cause tooling redesign |
| Assembly logic | How the parts come together and in what order | Affects assembly labour and joint durability |
Consolidate your review rounds. Each review round costs one full round trip. Markup the pack thoroughly in a single pass — proportion, features, parting lines, surface — rather than sending three consecutive rounds of comments. This is the single highest-leverage schedule action available to a buyer.
Stage 3 — Structural and DFM review
Design for manufacturability takes the approved sculpt and turns it into a producible part. This stage is technical and often invisible to buyers, but it determines whether the figure moulds cleanly, assembles reliably and survives transit.
| Review area | The question being resolved | Typical outcome |
|---|---|---|
| Wall thickness | Is the section thick enough to fill and strong enough to handle? | Target thickness specified per part |
| Draft angle | Will the part release from the tool without dragging? | Draft applied to all surfaces along the pull direction |
| Undercut handling | Which features need sliders, lifters or inserts? | Tooling structure fixed, or the sculpt adjusted |
| Shrinkage allowance | How much will the material shrink on cooling? | Tool dimensions compensated so the finished part matches the sculpt |
| Gate and runner layout | Where does material enter, and will it leave a visible mark? | Gate position chosen to hide marks and fill evenly |
| Weld line risk | Where will flow fronts meet, and is that acceptable? | Either accepted in a low-visibility area or the design adjusted |
| Assembly method | Snap-fit, glue or heat-stake for each joint | Joint method fixed with a durability expectation |
| Clearance and fit | Will the parts actually go together at production tolerance? | Tolerance stack reviewed with clearance allowed |
Ask for the risk list explicitly. A good engineering team will hand you an annotated report listing the three or four items they consider the highest risk, with the mitigation proposed. Ask for that list in writing. It becomes your watch list for T1 samples — and it becomes evidence of whether the engineering team called the problems correctly.
Stage 4 — Prototyping
Prototyping gives you a physical object before you commit to tooling. Its purpose is to test form, fit and scale in the hand — the things that cannot be judged reliably on screen.
| Prototype purpose | What it validates | What it cannot validate |
|---|---|---|
| Form and proportion | How the figure reads in three dimensions and at true scale | Nothing about the finished surface finish |
| Scale and presence | Absolute size against your packaging and shelf context | Not the final weight or material feel |
| Fit and assembly | Whether the parts interact as designed | Not production tolerances or tool-related fit drift |
| Decoration placement | Where colour boundaries fall on the physical form | Not final paint coverage or Pantone accuracy |
| Packaging fit | Whether the item sits correctly in a proposed format | Not transit performance |
Standard sampling: for a typical collectible figure, standard sampling runs on the order of about a week depending on complexity, with the elapsed time driven mostly by part count and detail density. Ask for the sampling schedule in stages rather than as one figure, so you can see where the time sits.
Stage 5 — Tooling
Tooling converts the approved engineering into a production asset. It is the longest single stage and the one with the least scope for recovery — once cut, the tool is the tool. Progress here should be reported rather than assumed.
| Tooling activity | What happens | Progress evidence to request |
|---|---|---|
| Tool design | Mould layout, cooling, ejection and gate design are finalised | Tool design drawing or layout approval |
| Steel and base selection | Material for the cavity and the mould base is specified and ordered | Steel grade confirmation and expected shot life |
| Machining | Rough and finish machining of cavity, core and inserts | Machining progress photos or video on request |
| Undercut mechanisms | Sliders, lifters and inserts are manufactured and fitted | Confirmation these were completed and fitted |
| Polishing and texturing | Surfaces are polished to the agreed finish grade | Finish standard confirmation against the approval |
| Assembly and trial fit | The tool is assembled and dry-cycled before trial | Trial-fit confirmation |
| Tool register entry | The tool is logged with cavity count, grade and project reference | Register excerpt for your project |
Request a tooling progress report at the midpoint. Tooling is where a programme can go quiet for weeks. A single scheduled midpoint update — with photographs of the machined cavity and confirmation of the undercut mechanisms — is inexpensive for the supplier and gives you early warning of a slip while there is still time to act.
Stage 6 — Tool trial and T1 samples
T1 samples are the first parts off the production tool. This is the moment of truth for everything decided upstream: the sculpt, the structural review, the undercut strategy and the draft.
| T1 review item | Acceptance question | Common finding |
|---|---|---|
| Dimensional conformance | Do the parts match the approved drawing within tolerance? | Localised shrinkage deviations requiring tool adjustment |
| Flash and short shots | Is material escaping the cavity or failing to fill? | Usually resolvable by gate and pressure adjustment |
| Sink marks | Are there surface depressions over thick sections? | Requires wall thickness or cooling revision |
| Weld lines | Where flow fronts meet, is the line visible where it matters? | May require gate repositioning or acceptance in a hidden area |
| Parting line visibility | Is the parting line acceptable at the agreed location? | Sometimes moved a small distance to a less visible edge |
| Surface finish | Does the finish match the approved standard and texture? | Polishing revision, usually iterative and quick |
| Fit and assembly | Do the parts assemble as designed at production tolerance? | The most common reason for a tool adjustment round |
| Undercut release | Do sliders and lifters release cleanly over many cycles? | Sometimes needs a mechanism refinement |
Expect at least one tool adjustment round. Very few production tools produce a fully acceptable part on the first trial. What matters is that the deviations are identified, listed and corrected with a stated schedule — not that the first trial is perfect. A supplier who reports "T1 is perfect, no issues" is more likely to be under-inspecting than genuinely lucky.
Stage 7 — Pre-production sign-off
Pre-production samples are produced in production conditions, decorated and assembled, and serve as the contractual standard. What you sign here is what mass production will be measured against.
What to settle at this gate
- Colour standard. Approve a physical sample — a Pantone reference or a signed swatch — and ensure both parties retain one. Without a retained reference, colour disputes have no resolution mechanism.
- Surface and finish. Confirm the finish reads as intended on the production part, not only on a prototype.
- Assembly and function. Test articulation range, joint security and base stability on the actual production sample.
- Packaging artwork and structure. Approve the printed artwork, the pack-out and the carton markings together, since a late artwork change disrupts printing as well as assembly.
- Inspection standard. Agree the defect classification — what counts as critical, major and minor — before production starts rather than during inspection.
- Retained samples. Both parties keep a signed reference sample for the duration of the programme.
This is the last cheap gate. Every change approved after pre-production sign-off either costs a tool modification, invalidates a test report, or requires rework of finished goods. Allow time for this review rather than treating it as a formality.
Stage 8 — Mass production and inspection
Mass production is staged, inspected and packed. The buyer's leverage here is the inspection plan, not the production line — by the time goods are moulded, the only remaining question is whether defects are caught before shipment.
| Production activity | What is controlled | Record |
|---|---|---|
| Material intake | Resin grade, colour batch and conformity to specification | Incoming inspection sheet and batch certificates |
| Moulding run | Cycle consistency, shot weight, flash, short shots | In-process inspection log at the agreed frequency |
| First-off each shift | Conformance of the first parts from each new start | First-off report per shift |
| Decoration | Pantone match, coverage, masking accuracy, print registration | Colour check against the approved standard |
| Assembly | Joint fit, articulation function, base seating, glue integrity | Assembly line check sheet |
| Final AQL inspection | Sampled inspection of finished, packed goods | AQL report with lot size, sample size and defect classes |
| Cartoning and pack-out | Quantity per carton, carton integrity, labelling, pallet build | Packing list and pallet record |
| Pre-shipment inspection | Final check of packed goods and container loading | Pre-shipment report and loading photographs |
Agree the inspection standard before the run, not during it. Defect classification is the most common source of late dispute. Settle whether a given surface flaw is critical, major or minor while the standard is still an abstraction, and the actual inspection becomes a mechanical exercise rather than a negotiation.
The five critical path items
Not everything in a programme is equally important to the final date. These five items define the critical path, and each is worth explicit attention.
| Critical path item | Why it is critical | What protects it |
|---|---|---|
| Sculpt approval turnaround | Nothing downstream can start until the sculpt is signed off | Consolidated single-round markup; a named internal reviewer with authority to approve |
| Undercut and parting line decisions | They fix the tooling structure; changing them later means re-cutting | Involve the engineering team at sculpt review rather than after |
| Part weight and wall thickness | Drives both tool design and unit economics, and must be right before cutting | Confirm target wall thickness at the DFM stage in writing |
| Artwork and packaging approval | Print and thermoform tooling cannot proceed without final artwork | Freeze artwork before tooling starts, matching the product timeline |
| Compliance test scheduling | Testing must follow pre-production sign-off but precede shipment | Book laboratory capacity in advance and hold the window |
Your own clock: the review obligations that set the pace
Buyer-side review time is the most under-managed variable in the whole schedule. It appears on no supplier document and is rarely accounted for in the plan, yet it routinely consumes weeks.
| Buyer obligation | Typical duration | What delays it | How to protect it |
|---|---|---|---|
| Brief confirmation | Days | Multiple internal stakeholders with different priorities | Nominate one decision owner with authority to sign |
| Sculpt markup review | Days | Waiting for feedback from brand, sales and management separately | Collect all comments in one round through a single channel |
| Structural report review | Days | Report not circulated to the technical reviewer in time | Identify your technical reviewer before the report arrives |
| Prototype evaluation | Days | Sample stuck in internal shipping or awaiting a meeting slot | Book the evaluation slot when the sample ships |
| T1 deviation decisions | Days | Undecided whether deviations are acceptable | Agree the tolerance basis at DFM stage, not now |
| Colour standard approval | Days | Physically comparing swatches across offices by post | Approve against a retained reference sample held on site |
| Pre-production sign-off | Days | Sign-off awaited from management for a routine standard | Pre-agree the acceptance criteria so sign-off is administrative |
| Artwork final approval | Weeks if late | Design changes after print-ready files were supplied | Freeze artwork upstream of tooling, not alongside shipment |
Estimate your own review time honestly and add it to the supplier's lead time. A plan built only from manufacturing durations will slip by exactly the amount of buyer decision latency it omitted. Two weeks of accumulated internal review is not unusual — and it is the cheapest two weeks to eliminate.
Where schedules actually slip
| Failure mode | How it shows up | Early warning sign | Prevention |
|---|---|---|---|
| Late sculpt approval | Everything downstream shifts day for day | Sculpt pack sitting unreviewed beyond the agreed window | Named reviewer and a committed turnaround |
| Post-tooling design change | Tool modification and a slip of weeks | A change requested after T1 samples but before PP | Freeze design at DFM approval |
| Tool adjustment round | Unexpected additional trial cycle | T1 report listing several dimensional deviations | Expect one round in the plan; confirm the schedule for it |
| Artwork delivered late | Printing and packaging delayed independently of production | Artwork not locked when tooling starts | Freeze artwork in parallel with tooling, not after |
| Compliance test re-run | Report invalidated by a material or paint change | Any change to material or coating after testing | Test after pre-production sign-off and freeze the BOM |
| Capacity displacement | Your run pushed back by a larger customer | Vague answers about slot reservation | Capacity booking agreed in writing before the order |
| Peak season congestion | Painting and assembly queues lengthen | Order placed into the supplier's known busy period | Plan around the peak or book earlier |
| Inspection failure at final AQL | Rework or re-inspection before shipment | Rising defect trends in in-process logs | Agree defect classes up front; review in-process data during the run |
The signal to watch is silence. A programme that has gone quiet for a fortnight is not necessarily in trouble, but you cannot tell. Weekly written status with a colour per stage converts an unknown into a known, and it costs the supplier very little to provide.
Schedule protection checklist
- Nominate a single internal decision owner with authority to approve the brief, sculpt and colour standard. Shared approval is the most common cause of buyer-side delay.
- Agree all eight gates and their acceptance criteria in writing before production starts, so each approval is administrative rather than deliberative.
- Commit to your own review turnaround times and hold them. This is the highest-yield schedule action available to you.
- Freeze the design at DFM approval and treat any later change as a formal engineering change with a costed schedule impact.
- Lock packaging artwork in parallel with tooling so printing is not on the critical path at the end.
- Book the compliance testing window in advance, positioned after pre-production sign-off and before mass production.
- Ask for a written midpoint update during tooling, with photographs of the machined cavity and confirmation of undercut mechanisms.
- Plan for one tool adjustment round after T1 rather than assuming a perfect first trial.
- Agree defect classification before the production run, not during final inspection.
- Confirm capacity booking in writing, especially if your order falls in the supplier's peak season.
- Hold weekly written status with a colour per stage, and treat unexplained silence as a risk event.
- Retain signed reference samples of the colour and finish standard at both ends for the life of the programme.
FAQ
How long does a custom toy order take from brief to shipment?
It depends primarily on sculpting complexity, part count, undercut handling and how quickly approvals are returned. Standard sampling typically runs on the order of about a week depending on complexity, tooling adds several further weeks, and mass production follows pre-production sign-off. Build your plan stage by stage and add your own review time explicitly — an aggregate number hides where the time actually sits.
Can stages run in parallel to shorten the schedule?
Two overlaps are worth pursuing: packaging artwork development alongside tooling, and compliance test booking alongside pre-production preparation. Product stages themselves cannot safely overlap, because sculpt, structural design and tooling each depend on the previous approval. Attempting to start tooling before the structural review is complete is the most expensive overlap available.
What is the fastest safe way to shorten a programme?
Cut buyer review latency, not manufacturing time. Consolidate sculpt markup into a single round, nominate one decision owner, and pre-agree acceptance criteria so approvals are administrative. These actions can recover weeks without adding any technical risk, whereas compressing tooling or skipping the T1 review adds risk that surfaces in mass production.
How many tool adjustment rounds should I expect?
Plan for at least one. Adjustments after T1 are normal and usually relate to dimensional deviations, sink marks or fit. What matters is that deviations are listed, prioritised and corrected on a stated schedule — and that the corrections are re-verified with a follow-up sample before the pre-production gate.
When should compliance testing be scheduled?
After pre-production samples are approved and before mass production begins. Testing earlier risks invalidation if the material, coating or design changes; testing later risks discovering a compliance problem after a large batch is made. Freeze the bill of materials at pre-production sign-off so the report remains valid for the production run.
Planning a custom figure programme?
Send us your brief — part list, material, decoration intent, target market and quantity — and we will return a stage-by-stage schedule with named approval gates and the review inputs we need from you at each one.
Related reading — choosing the supplier
A schedule is only as reliable as the manufacturer running it. See the seven dimensions to verify before you place a tooling order.
Related reading — reading the numbers
Approval timing drives tooling cost. Understand how a quotation is built and which of your decisions move the unit price most.
Related reading
Once you understand the schedule, the next step is understanding the engineering behind it. See how mould design decisions affect both tooling cost and product quality.