
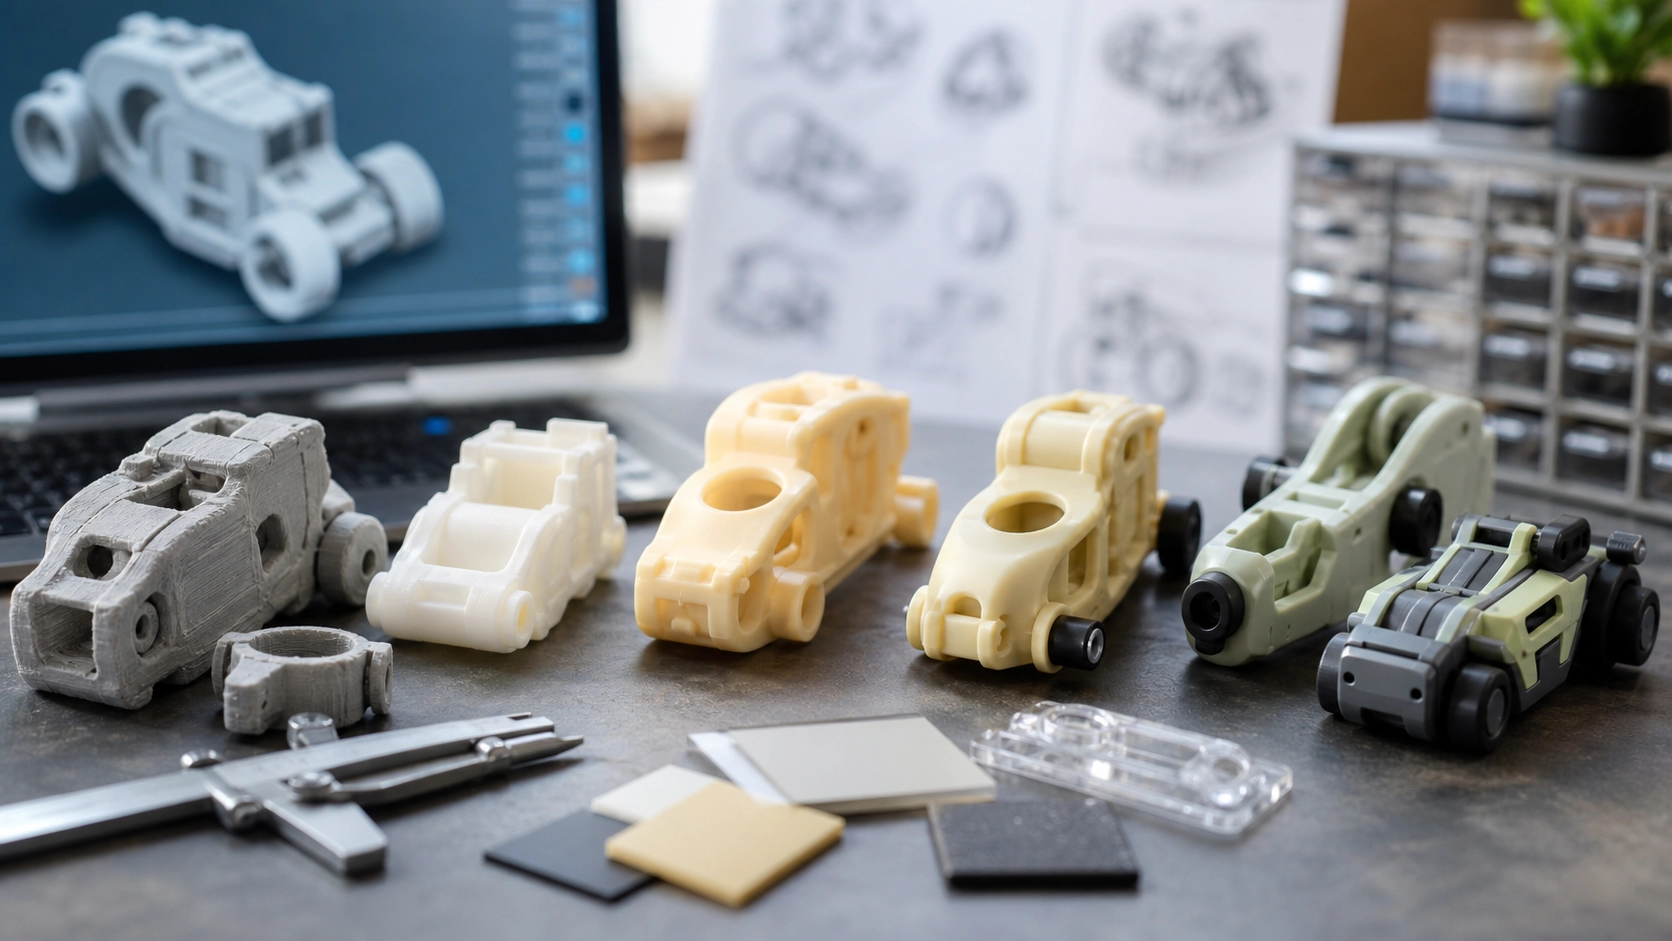
Why Prototype Before Committing to Production?
A plastic toy prototype is a decision-making tool, not simply a smaller production run. It can help a project team review proportions, grip, balance, assembly, movement, surface quality, and packaging fit before production tooling is finalized. The most useful method depends on the question being asked. A visual model may be enough to approve a character silhouette, while a moving joint may need a dimensionally accurate engineering sample.
No single prototype reproduces every property of an injection-molded part. Printed resins can behave differently from production thermoplastics, cast parts may shrink differently, and machined samples can have strength directions unlike molded components. A good prototyping plan therefore identifies the risk first, then chooses the fastest representative method for investigating it.
Start With Digital Design Reviews
CAD Geometry and Assembly Checks
Three-dimensional CAD is usually the first prototype. Designers can review wall thickness, part splits, clearances, joint travel, fastener locations, and the space required for internal mechanisms. Interference checks can reveal collisions before anything is manufactured. Exploded views also help production and packaging teams understand the intended assembly sequence.
Rendered Appearance Reviews
Digital renders help compare color arrangements, gloss levels, graphics placement, and alternative proportions. They are efficient for narrowing down options, but they should not be mistaken for proof of physical color or texture. Screen settings, lighting, material translucency, and the manufacturing process all affect the final appearance. Critical finishes should later be reviewed on a physical reference.
Choose a Physical Prototyping Method
Material-Extrusion 3D Printing
Layer-based filament printing is useful for early size, shape, and packaging studies. It can produce large concept parts economically and makes design changes relatively easy. Visible layer lines and directional strength limit its value for judging a polished molded surface or a small snap feature. It is best treated as a form-and-fit model unless the process and material are deliberately selected for a functional question.
Resin 3D Printing
Photopolymer printing can capture fine surface details and is often chosen for appearance models, miniature features, and master patterns. Parts can be sanded, primed, and painted for presentation. However, printed resin may be brittle, sensitive to prolonged light exposure, or different from the specified production plastic. A joint that works in resin does not automatically confirm long-term performance in molded material.
Powder-Bed 3D Printing
Powder-based processes can produce complex shapes without many external supports and may be useful for clips, housings, articulated components, or small functional assemblies. The natural surface is often textured, so finishing may be required for an appearance review. Dimensional results and flexibility depend on geometry, orientation, material, and process settings.
Vacuum Casting
Vacuum casting uses a master model and a flexible mold to create a limited group of similar samples. It can be valuable when a team needs multiple presentation models, color studies, or assembly trials without production tooling. Cast polyurethane can approximate selected properties, but it is not identical to injection-molded ABS, PVC, or another specified production material. The flexible mold also has practical limits for fine features and dimensional repeatability.
CNC-Machined Samples
CNC machining removes material from a solid block. It offers useful dimensional accuracy and allows samples to be made from certain production-grade plastics. This method may suit flat-sided mechanical parts, jigs, fixtures, and targeted functional tests. Complex organic shapes, deep internal geometry, and thin curved walls can be inefficient or impossible to machine as one piece, so the sample may need to be divided and assembled.
Prototype or Soft Tooling
When molded behavior is the main uncertainty, a prototype mold or simplified production-intent tool can provide the most representative samples. It can support reviews of filling, shrinkage, sink, weld lines, ejection, assembly, and actual material response. Tool construction, cavity count, surface finish, and life should match the purpose of the trial. A pilot tool can reduce uncertainty, but it is still an investment and should follow a sufficiently mature design.
Match the Prototype to the Decision
- Use digital models and rough prints to compare size, pose, proportions, and component layout.
- Use high-detail prints or finished cast samples for sculpt, paint, texture, and presentation reviews.
- Use dimensionally controlled prints or machined parts for assembly clearance and mechanism studies.
- Use repeated samples when variation between units matters, rather than judging a single ideal part.
- Use molded pilot parts when the decision depends on production material, gate location, shrinkage, or ejection.
Build a Clear Validation Checklist
Every prototype round should have written acceptance questions. Record the revision, material, process, orientation, finish, and any departures from the intended production design. Review overall dimensions, mass, center of gravity, edges, gaps, joint movement, assembly force, stability, and interaction with accessories or packaging. Photographs and marked drawings make feedback easier to interpret than comments such as “make it better.”
If the toy includes small components, magnets, electronics, cords, springs, or moving mechanisms, define additional reviews with qualified engineering and testing specialists. Prototype evaluation supports development, but it does not replace production testing or market-specific compliance work.
A Practical Staged Approach
A sensible sequence usually moves from inexpensive learning to more representative evidence. Begin with CAD reviews, then make form models, detailed appearance samples, and functional components as needed. Freeze critical interfaces before commissioning tooling. Finally, evaluate production-intent samples against the approved specification and reference sample. Not every project needs every stage; the risk profile should determine the route.
Conclusion
Effective plastic toy prototyping is about answering the right question with an appropriate sample. By separating appearance, fit, function, material, and process risks, teams can make informed changes before mass production. To plan an OEM project, discuss the design maturity, intended material, validation priorities, and required sample types with a qualified manufacturing partner.